Coding bootcamps and courses are extraordinary investments of one’s time and money; understandably, not everybody can attend one. For this reason, some people choose to learn how to code from home at their own pace. I think that’s an incredibly wise move. Even though I completed the first part of DevBootcamp’s full-stack program (I had to leave halfway due to health issues) and then subsequently finished Thinkful’s Front-End Development course, I 100% believe you can learn this stuff by yourself without the hefty price tag.
While it’s hard to completely replicate the type of environment a bootcamp or a course offers, there are many ways to mimic it by yourself. Looking back, I realized these were some of the most useful parts of the bootcamp experience for me: one-on-one mentorship/tutoring, community, and a structured curriculum. I wish I’d known then there are ways to have all that without the financial baggage! Thankfully, I do now and am using the following resources to learn even more by myself for now. Here are a few ways to experience all three factors yourself either completely for free, or at a relatively very low cost:
A) Mentorship:
I think arguably the reason many attend courses or bootcamps is for the one-on-one assistance. As a beginner, it can be incredibly overwhelming when you’ve been stuck on a tutorial for hours. It’s important to try to figure it out by yourself, but there comes a time when it just becomes counterproductive. Or let’s say you do “fix” it, but then later on your entire code breaks — and you realize it’s because you didn’t really fix the problem properly in the first place! I get it, I’ve been there — heck, I’m still there! Mentors/teachers can “rescue” you when you’re stuck and help you understand the bigger picture you’re not grasping, teaching you best practices along the way. They can also be great for code reviews, spotting troublesome areas before they become bad habits.
So how do you get one-on-one “tutoring” when you’re trying to learn at home by yourself? Here are a few websites that actually connect you directly to teachers/developers who, for a fee, can help when you need them. Use all of them:
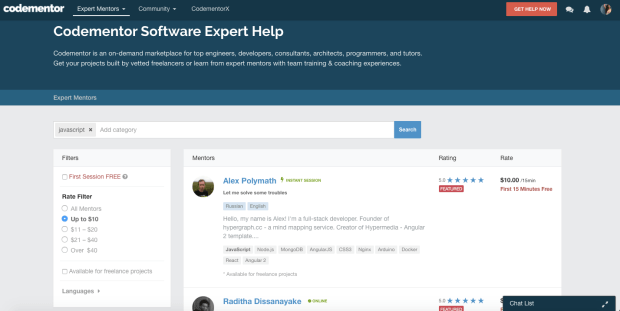
1. CodeMentor: Fees range all over the place, from $10/15 minutes to $30/15 minutes, many offering immediate help through an online session via the likes of Google Hangouts. That’s chump change when compared to a $10,000+ bootcamp tuition. They also offer offline assistance for small projects. That could be useful for a code review, for example. Also, just a side note: check out their blog posts. They’re pretty engaging reads and oftentimes very useful.
2. Wyzant: Fees here also vary from $20/hour to $70/hour. You can schedule a one-on-one online session or meet in-person, but I don’t think you’ll get immediate help so-to-speak. This is still a really great option for tutoring and code reviews.
3. Craigslist: At one point, I posted an ad for a tutor here. I didn’t end up needing one at the time, but I got some incredible responses from experienced developers (one was a teacher at HackReactor) for very reasonable rates! You can negotiate the price and how often you meet with them personally. Definitely worth a shot.
B) Structured Curriculum:
There a ton of online resources out there you can use to guide and structure your learning. It would probably take me a couple of days to list out each one, so here are just a few:
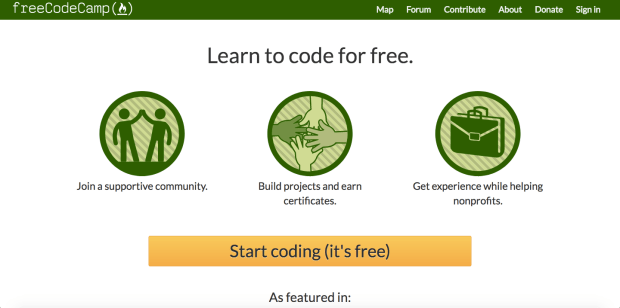
- FreeCodeCamp: They offer a curriculum like Thinkful’s with similar projects for free. At the end, you contribute towards a non-profit, giving you real-world experience while giving back. I’ve often used it and will continue to in the future.
- Codeacademy: This is a very popular free resource I have found helpful and used to complement my learning while at Thinkful and DevBootcamp.
- Treehouse: I haven’t actually used this one yet, and you do pay a fee, but I have heard some incredible things. I definitely plan on using it very soon.
- Sites like Udemy offer some courses. Again, I haven’t tried these (well, not to learn web development) but I’ve looked through a few and they seem pretty solid. I have also heard good things about some of them, although not all. Make sure you do some online research on the teacher or specific course before you take one.
C) Network/Community:
Something I loved about DevBootcamp was the emphasis on pairing with others while working on challenges. But that’s kind of hard to do when, you know, it’s just you and a screen. It can also be isolating learning by yourself and hard to network. Although I am still doing some research on this one, I have found a few ways around this so far:
1. Social Media Groups: Free Code Camp actually has quite a few Facebook pages for various cities worldwide. They can be pretty big too. Members post about events, ask/answer questions, and share hilarious cat memes. I would definitely join one, even if you don’t use Free Code Camp much.
I’ve also noticed some inexpensive programs offered through Udemy/Treehouse have their own social media groups or Slack channels. Definitely take advantage of those, or maybe even make one yourself. Thinkful didn’t have one so I created two private Facebook groups for students and alumni. It took a like a couple of minutes and was super easy.
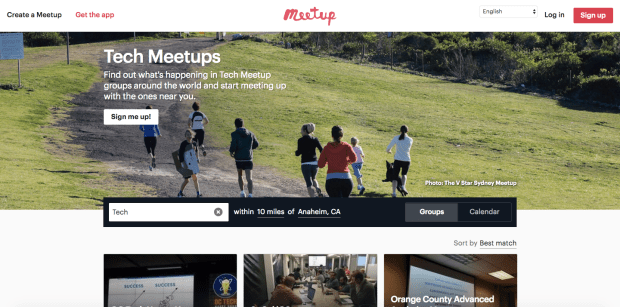
2. MeetUps: Many cities offer events where you can meet and work with other developers. Great way to connect with people in-person.
3. Obviously, I have to include Stack Overflow, the site for developers. Great place to ask questions and learn while answering them.
Like I said, you can’t 100 percent replicate the bootcamp environment; the career assistance (Thinkful’s Full-Stack offers 100% tuition if you don’t get a job!), for one thing, is hard to mimic as is the immersive, demanding environment. But if you can’t attend one, you’re not totally missing out and can definitely create your own “bootcamp” of sorts that is very similar.
Good luck with the coding!
(By the way, even if you’ve already attended a bootcamp/course, definitely check out a few of the above links! I am using them all to learn even more. I’ll keep adding to this list over the next few days as I’m also using this post for my own reference.)